
It’s been several years since I wrote Mark’s Oyster Mushroom MethodologY (MOMMY).
Since then, I have tried and learnt lots in this cultivation journey and so, in a classic Johari window format, I will now move on to consider what I have learnt, but also demonstrate how much we still don’t know about fungi and mushrooms (hence the title).
Updates since MOMMY – and overview of MESS
In MOMMY, I started off with purchased sawdust spawn as the initial mycelium source. I then inoculated hydrated straw pellets as the substrate, and placed the mixture into plastic buckets drilled with holes in a double bucket technique (see MOMMY). There were several issues with this method.
Firstly, sawdust spawn takes a few weeks to arrive from the supplier. It means your timescale is confined to someone else’s commercial schedule. Secondly, I could no longer get a cheap source of straw pellets (due to shipping costs). Thirdly, the hydrated straw pellets were still very tightly packed, and in conjunction with the double-bucket technique, I ran into some problems with contamination and anaerobic growth. Finally, as I learnt more, I was keen not only to reduce the dependence of supply chain, but also minimise single-use plastics.
This is a rough view of my current process.
1. Primary source from agar plates or liquid culture from reputable suppliers
2. Expanded onto sterilised hydrated wheat grains in glass jam jars
3. Inoculated onto pasteurised straw, wood chips or logs
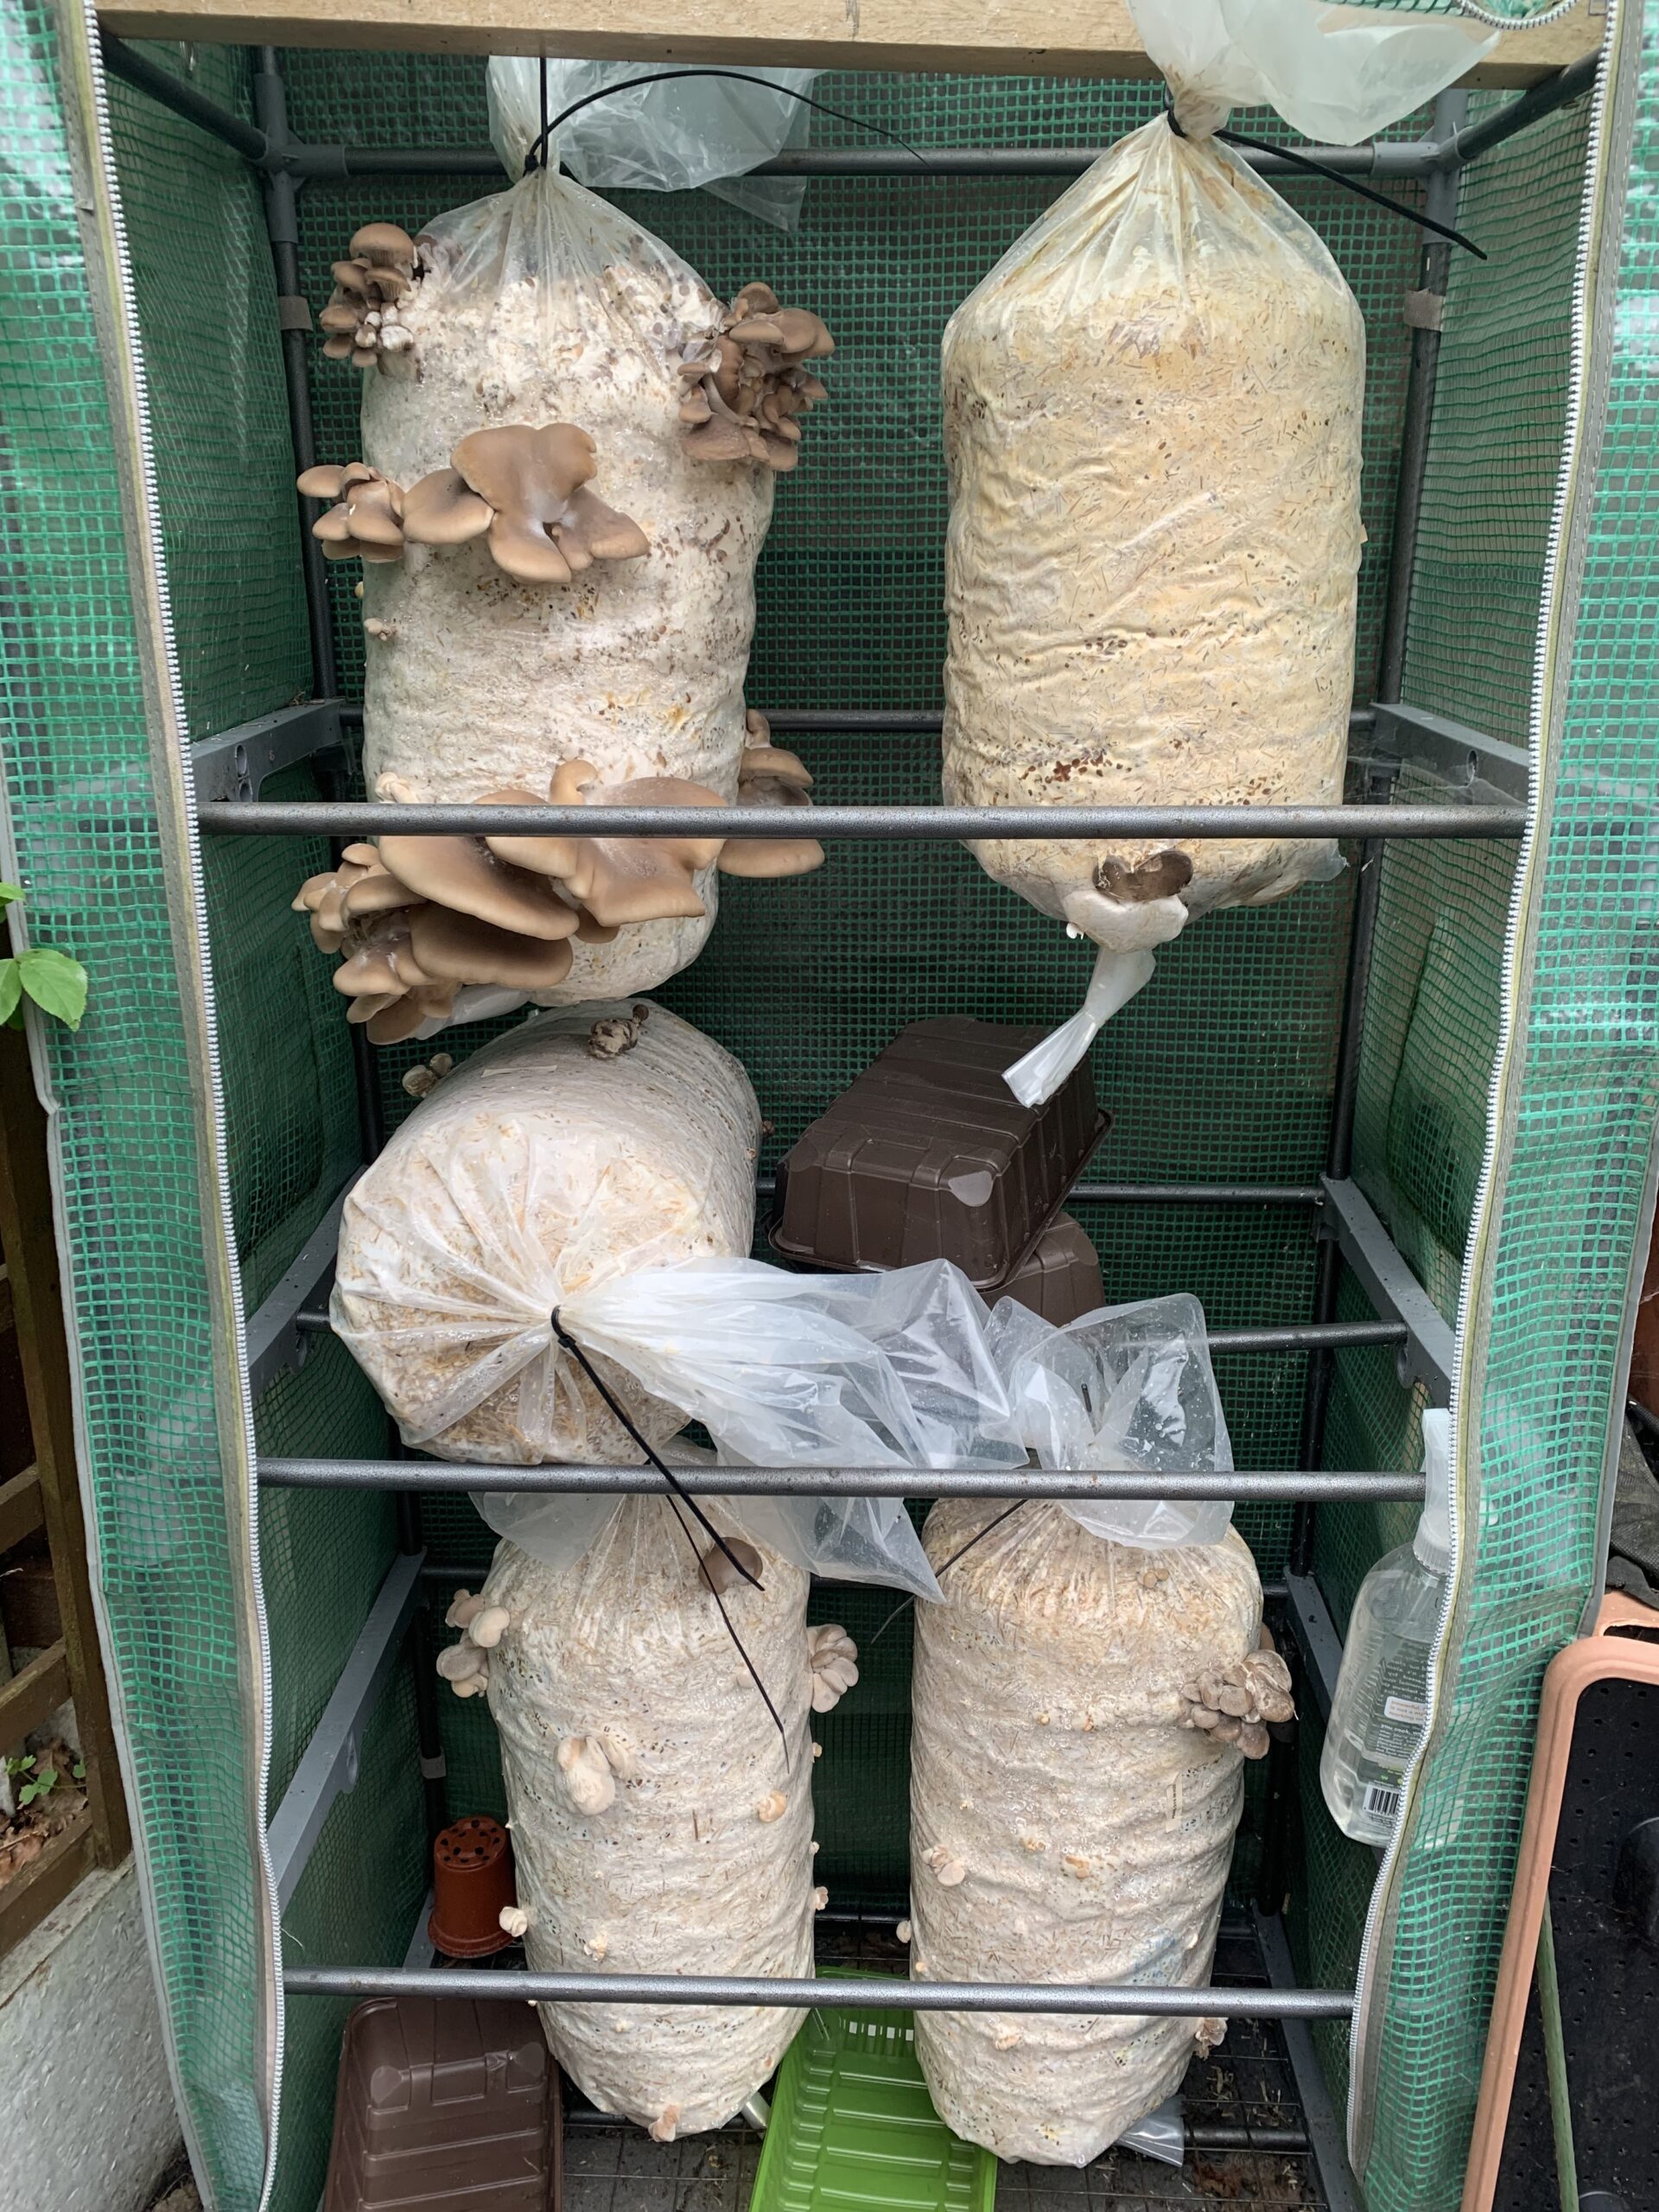
4. Incubated in polytubing or within the logs in a stack or totem
The article is structured as follows:
1. Primary sources (where to start)
2. Expansion procedures
3. Sterilisation and pasteurisation (including aseptic technique)
4. Bulk substrate choices
5. Incubating and Fruiting
As before, this will focus on saprophytic species of mushrooms (e.g. oysters, wine caps, shiitake, pioppino). Here we go!
Primary Sources
Of course, one can start with store-bought mushrooms and clone them. However, this requires a good grasp of aseptic technique as well as agar work. So it may not be suitable for those just starting out. With this method, in a sterile field, tear the mushroom and try to get a tissue sample from the middle of the mushroom. This avoids surface contamination, as well as minimises contact with the knife (another potential source of contamination). The tissue sample is then placed on an agar plate for the mycelium to expand and grow.
Agar plates or liquid culture can be bought from reputable suppliers. It is important that the supplier is reputable and has quality control measures to ensure that the agar plates or liquid cultures are indeed what they say they are. Both agar and liquid culture can be transferred onto Master cultures (such as Master slants) to form a reference library of mycelium for future work. How to prepare agar plates, liquid cultures or master cultures ar beyond the scope of this article and may be discussed in a further post. Both agar plates and liquid culture syringes are relatively cheap and allow for expansion into multiple containers. Each colonised container can then be used to further expand to larger amounts of substrate. These methods are also used by most commercial growers. These will be covered a little later in this article.
Sawdust or grain spawn can also be bought online and is a good starting point too. However, this has been covered in MOMMY, so will not be covered here.
Finally, mushroom growing kits are an easy, off-the-shelf way of getting started. These kits usually consists of a plastic bag colonised with mycelium. The only thing the user has to do is maintain humidity and slit the bag when it comes time to fruit.
Expansion procedures
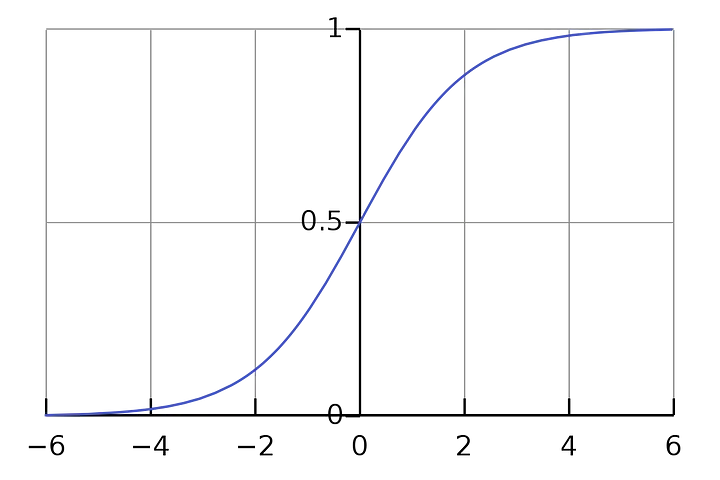
Expansion can be thought of as multiple sigmoid-shaped processes. Small amounts of mycelium are inoculated onto a substrate. This slowly expands and consumes the substrate, reflected in the slow rate of growth initially. After a certain mass is obtained, there is linear growth. This is what many growers refer to as the visible “spawn run”. Once the substrate is fully colonised, growth slows down (towards the top of the graph). Finally, in response to several fruiting triggers, mushrooms are produced.
Clearly, if using a small amount of substrate such as agar, few fruits will ever be produced. However, if this is expanded to larger and more substantial substrates such as grains, sawdust or wood chips, then eventually, the mycelial super-network may produce significant flushes of mushrooms.
Agar
Agar is relatively easy to handle and is conducive for fungal growth (as opposed to bacterial). Numerous containers are suitable to contain agar. Petri dishes are common in labs. These are usually round and can be plastic or glass. They are easy to handle and visualise growth. However, in order to get a good seal, one needs to use para-film or tape to seal the two parts of the petri dish. While plastic petri dishes are by far the most common container, there are clearly concerns regarding the environmental impact and lack of biodegradability.
One could also use other containers such as jam jars. This has the benefit that a seal is formed by the lid. It is important to choose shallow jam jars for this purpose as deeper jars make for difficult access and also increased risk of contamination. Another consideration is the need for some air exchange. This is recommended for longer-term storage (especially with master cultures). This is easily done with a hole punch and micropore tape (or similar). Lastly, a non-injectable port is also useful to have. It is particularly suited when working with liquid culture (but may theoretically be workable with agar too). These are the lids I have made. I currently use larger polypropylene buckets with lids similar to these (but larger of course)

A Primary tissue source can be inoculated into agar containers and left for a couple of weeks (or more depending on species) to fully colonise. This should be done in sterile fashion (see below). Once an agar culture is fully colonised, small sectors can then be used to inoculate other substrates for further expansion. This includes grains and sawdust, which will follow in the next few sub-sections.
Liquid culture
Liquid culture is a nutrient broth in which mycelium is suspended in. After growth and expansion, this liquid has a high concentration of suspended mycelium, which can then be used to inoculate other substrates. Liquid culture has both advantages and disadvantages.
Advantages include the ability to make transfers with very little sterile technique. Since the only “key part” which comes into contact with the liquid culture and the grain or sawdust container is the sterilised needle, contamination risk is minimal. Liquid culture also takes a shorter time to fully colonise sterilised substrate such as grains. This is due to the increase surface-area which comes into contact with the mycelium suspension, compared to that of agar.
The key disadvantage is that it is difficult to know if the liquid culture is growing the species of fungi that you want. Therefore, most growers advocate a small test on an agar plate before committing and confirming that a liquid culture is growing the desire species. On an agar plate, certain characteristics of your desired species can be identified. These include different growth patterns and colours (e.g. yellow discharge of king oyster mycelium, or dark brown highlights of shiitake and pioppino). In addition, agitation of the liquid culture is vital to break up the clumps of mycelium and avoid having growth concentrated in one particular lump.
Grain or sawdust
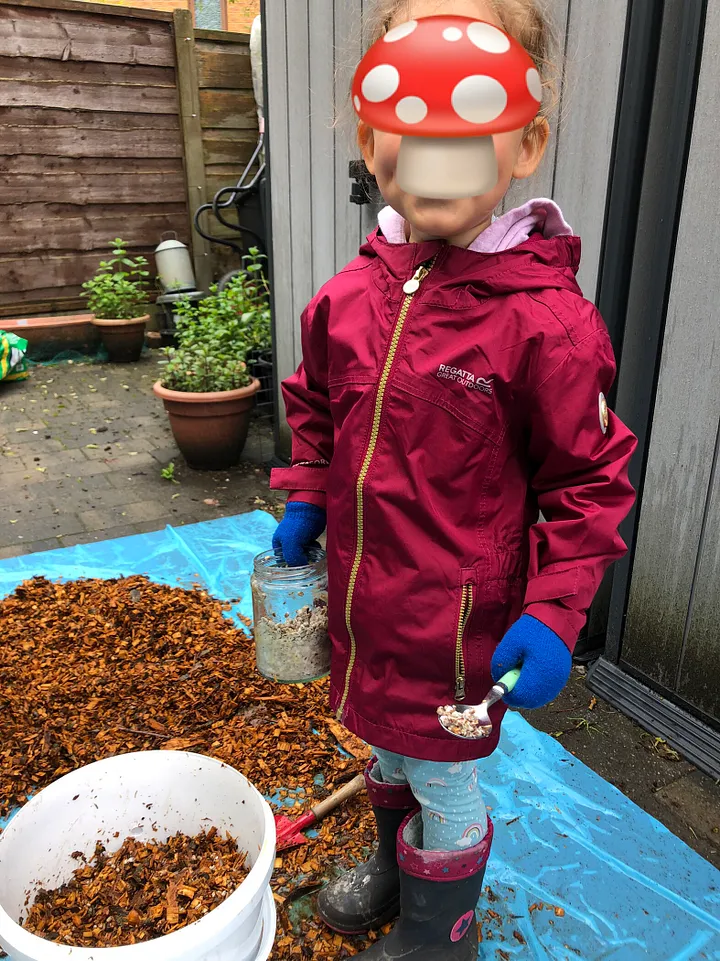
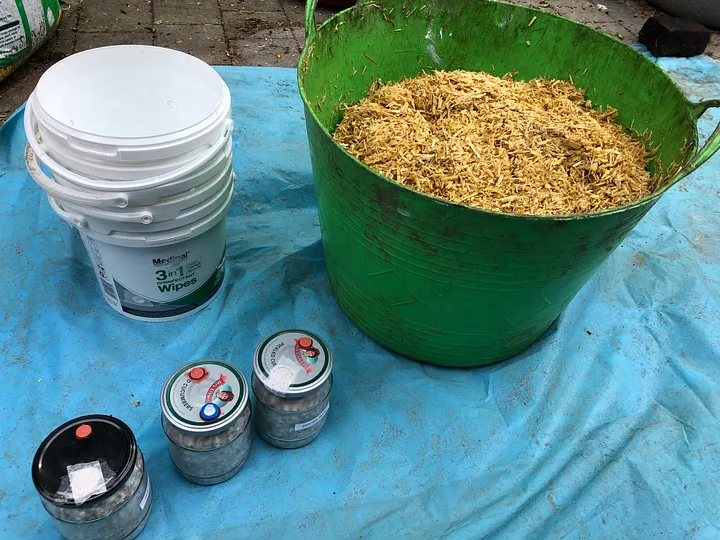
Both grains and sawdust need to be hydrated before they can be used to grow mushrooms. This can be done by soaking them overnight. Nowadays, I stick to wheat grains since I can get this in 20kg bags at the same place I buy my chicken feed supplies. I then wash them and put them in the pressure cooker (I have a crockpot). On “high” setting, I cook the grains for 2–2.5 hours, till they are plump but not split. Then I drain and air-dry them on an oven tray. I then put them into bottles ready for sterilisation.
Sawdust can be done in a similar fashion. There are even ways to calculate the amount of water needs to correctly hydrate grain or sawdust. By doing this, one can even skip the soaking/cooking stage and go straight into the sterilisation phase, killing two birds with one stone.
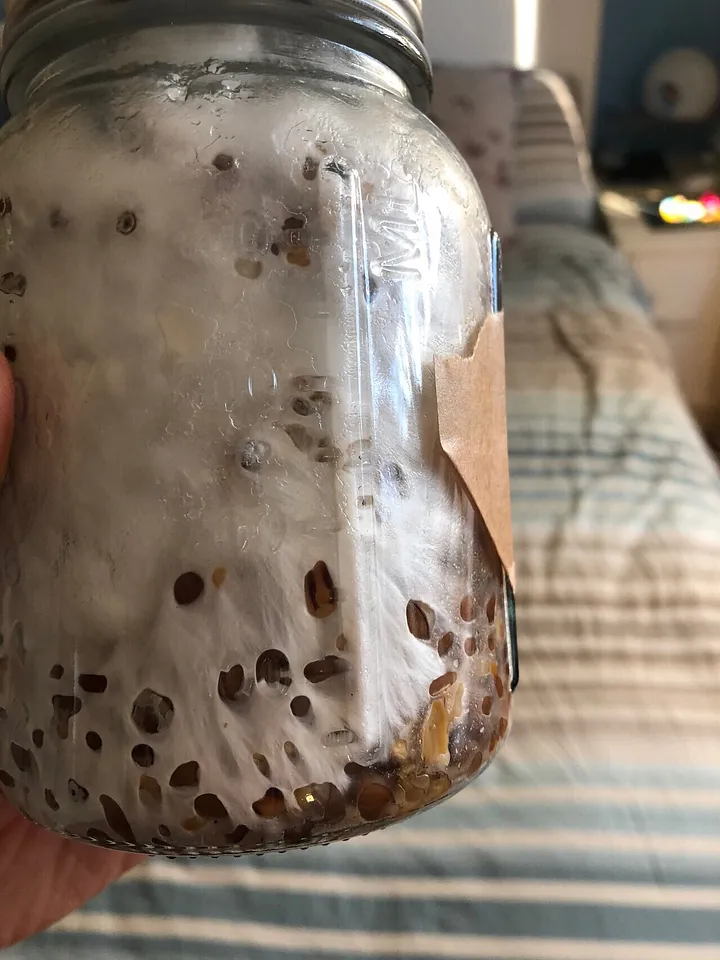
After sterilisation (see below), I transfer either a small section of agar or inject some liquid culture into the bottles using aseptic technique (later section). This then takes between 2–6 weeks to full colonise, depending on environmental conditions and the species of mushroom being cultivated.
Other mediums: fungi generally metabolise cellulose. This means they can be grown on many mediums, including cardboard, coffee grounds, straw, wood. Cardboard has been used to expand oyster mushroom mycelium, but as one can imagine, it does not contain much nutrition for the mycelium.
Sterilisation and pasteurisation
Sterilisation is the process of killing all microorganisms, including fungal spores. Pasteurisation on the other and, dramatically reduces the micro-organism load, but does not actually completely rid the substrate of fungi, bacteria or spores. Decontamination is a process which kills all bacteria and fungi but not spores (this is not used much in mushroom growing). There are two key considerations which determine the need to sterilise vs pasteurise. First is the inoculation ratio. Second is the interdependancy between certain fungi and bacteria. The lower the inoculation ratio, the more chance of contamination and competition and therefore the higher the need for sterilisation. For example, a small sector of colonised agar may only weigh 2 grams, but I might want to inoculate a 500 gram bottle of grains. This makes the inoculation ratio 0.004. Pasteurisation would be insufficient and therefore, I need to sterilise my grains.
On the other hand, once I have 500 grams of fully colonised grains, I might inoculate this into a 2 kg bucket of straw. This gives an inoculation ratio of 25%, which is fair higher than the previous example. Therefore, pasteurisation is sufficient. Also, mushrooms such as king oyster seem to fruit more prolifically when their substrate also contains some bacteria. In fact, contamination rates can often be higher when bulk substrate is sterilised, even with a high inoculation ratio. This is due to the aggressive nature of moulds and other undesirable fungi.
In the medical world, sterilisation can be carried out using various means. Autoclaving, or pressurised steam, is a common way. Ethylene glycol, and gamma radiation are other methods which are used, but are not practical for mushroom growing. Pressure cooking increases the boiling point of water. In a typical pressure cooker, 15 psi is achieved, which allows steam to reach a temperature of about 121C. At this temperature, 90 minutes is sufficient to sterilise.
I have an Instantpot. The working pressure is around 10–12 psi and therefore the temperature runs at about 115–118C. I therefore use a longer time to sterilise my grain bottles. 3 hours is usually sufficient. With this, I can sterilise 4 bottles at a time, but it means I use far less water than a regular pressure cooker since an Instantpot has a pressuring valve which limits the steam loss, compared to the float valve on a regular pressure cooker. I can also time the Instantpot. I usually set it before I go to sleep and take the bottles out in the morning.
Pasteurisation can be done with heat, pH changes (lime) or fermentation processes. Heat is achieved by boiling or steam. I do not have access to such large equipment. Lime pasteurisation and fermentation are my preferred options these days (see section on bulk substrate).
Aseptic technique
Please refer to the following post giving an overview of aseptic technique and why you don’t need a laminar flow hood.
Bulk substrate and processes
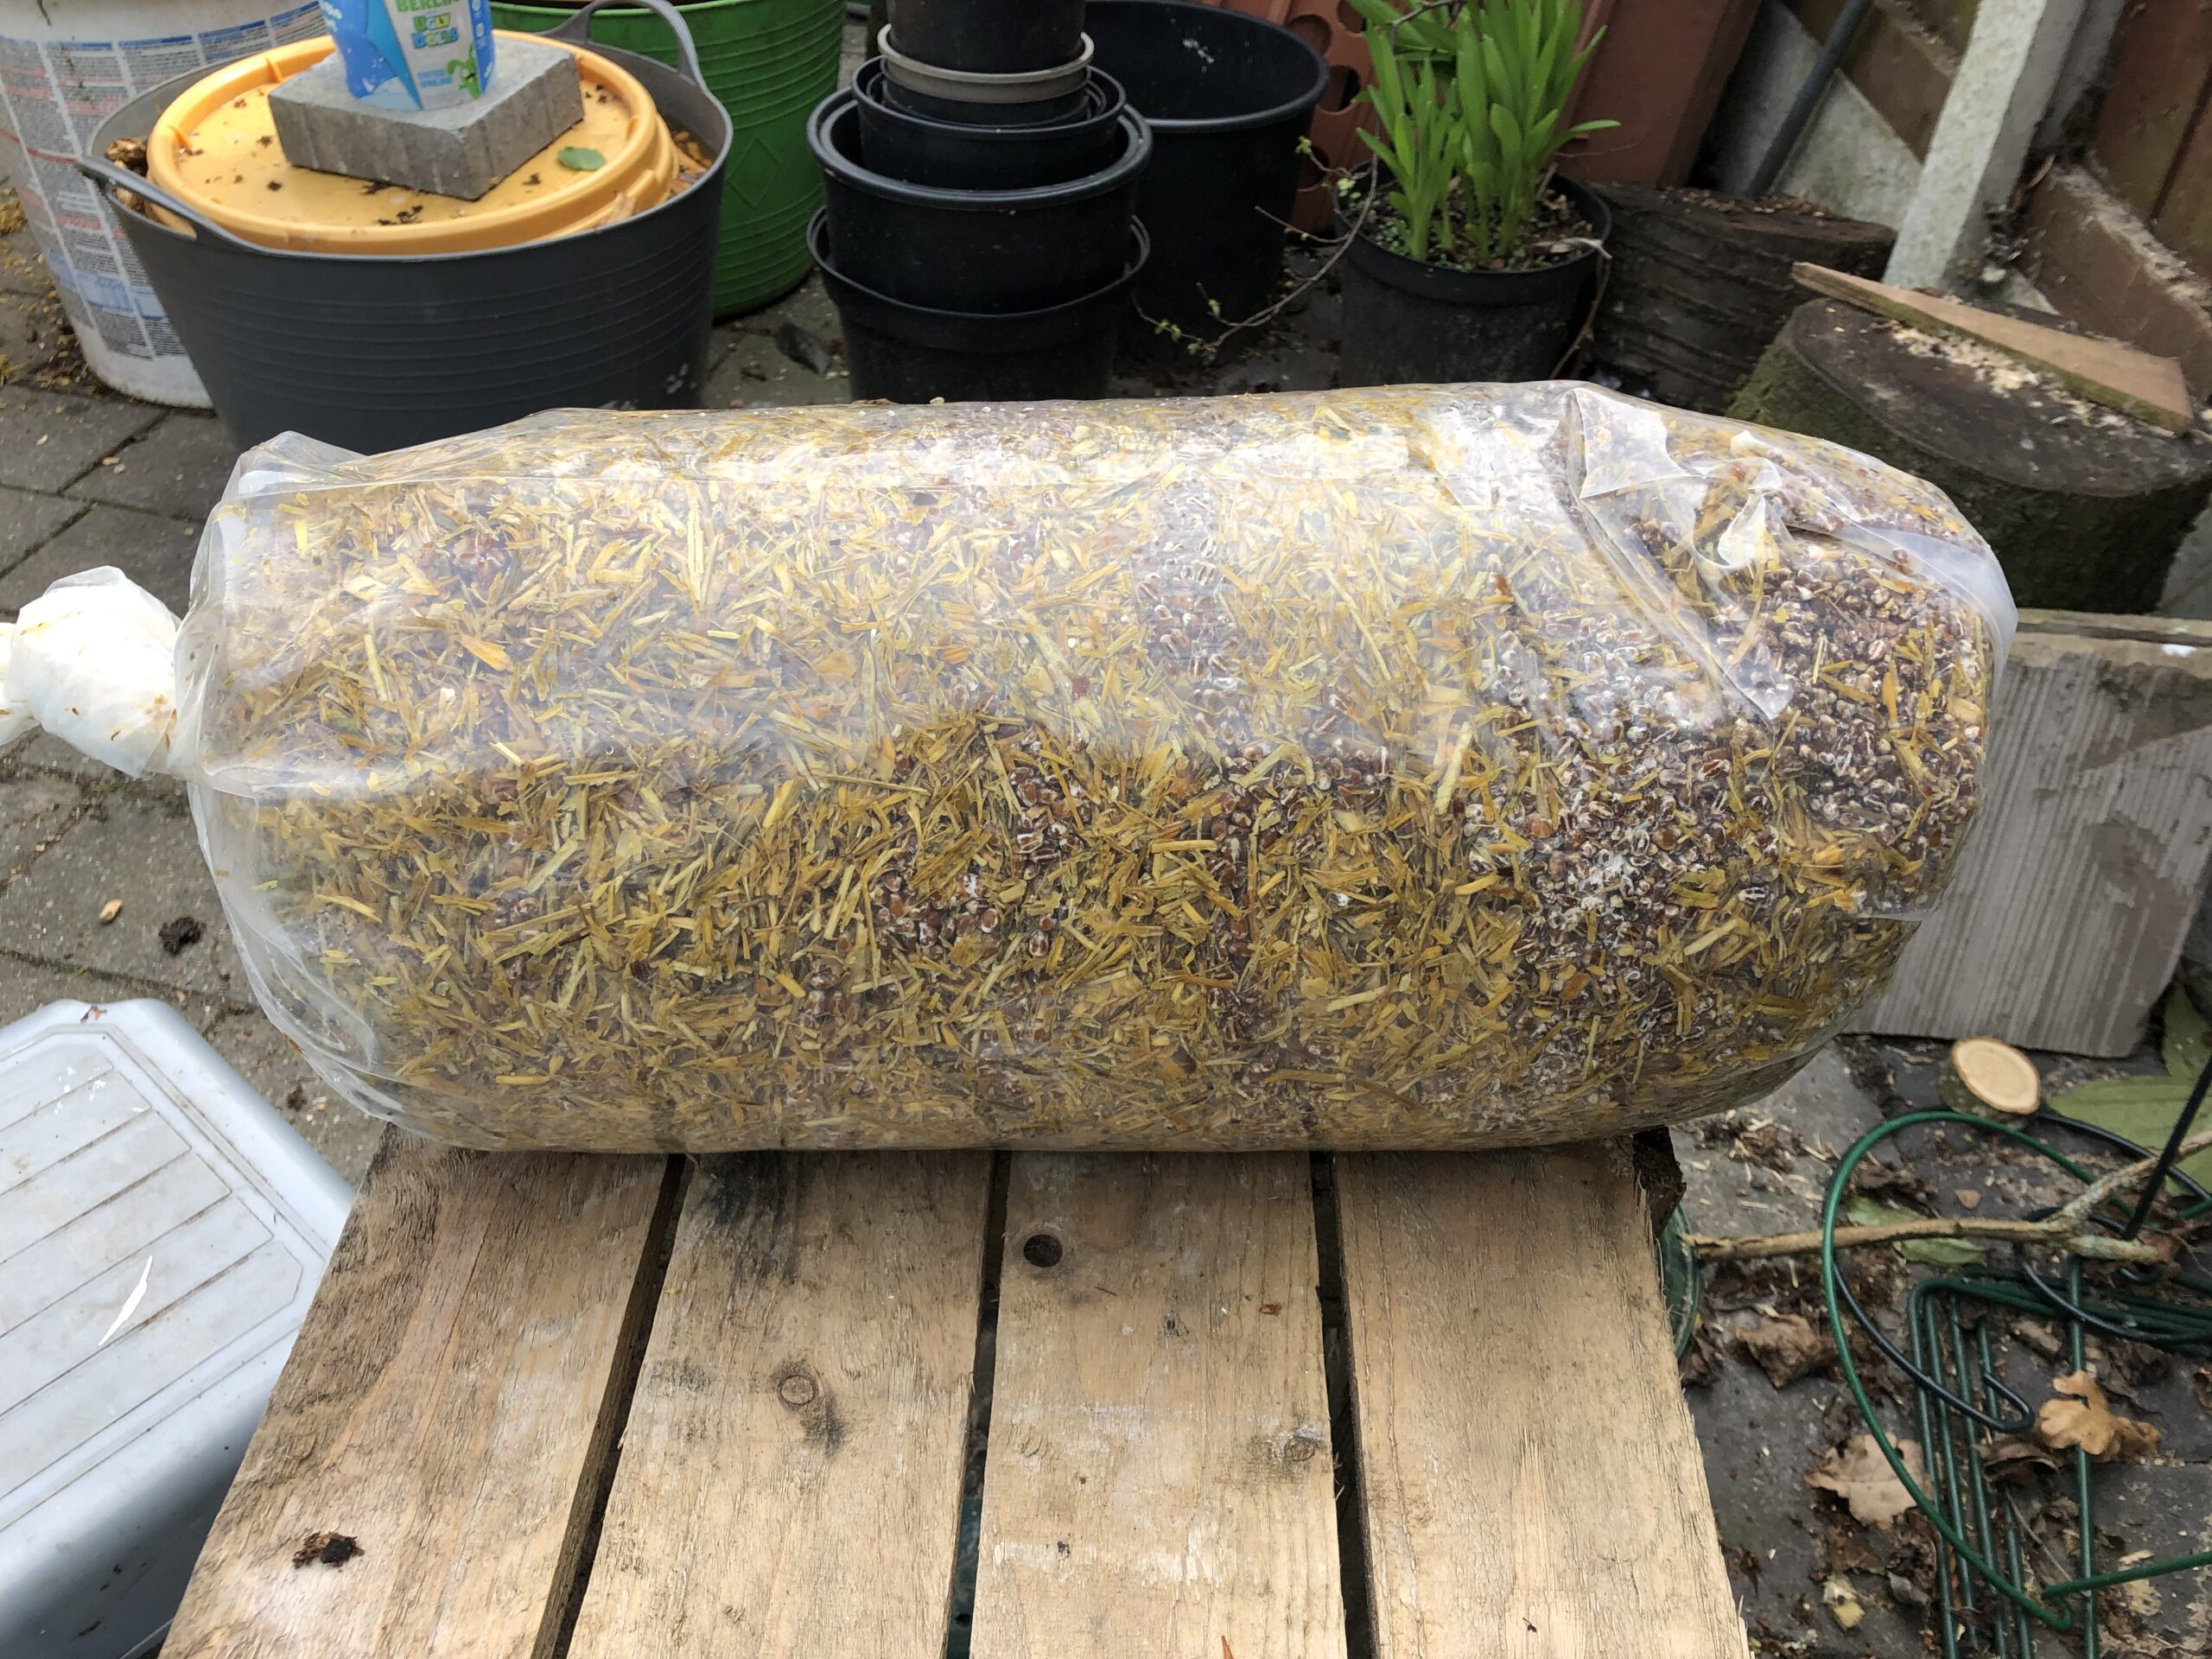
Straw is a good substrate for many mushrooms including oysters, shiitake (versatile varieties) and enoki. We get ours from a farm supplies store. It comes in 25kg bags of chopped and de-dusted straw, which we also used as bedding for our chickens. I do not have a large steamer nor a cauldron, so I use lime pasteurisation with straw. For this, I mix in roughly a small cup of lime to a large garden bucket of straw and water. After mixing, this is left for about a day before being drained and then inoculated. Lime dramatically raises the pH of the solution. As such, make sure you protect your skin when handling the materials. The semi-drained straw is then put into a polytubing “log”, alternating with colonised grains.
A local tree surgeon drops wood chips off for us at times. These can also be lime pasteurised. However, another method is fermentation as described by Paul Stamets. This technique is useful when processing large amounts of wood chip. The wood chip is put into a container, which is filled with water. It is weighed down and left to ferment for roughly a fortnight or so. This kills the aerobic bacteria and allows anaerobes to thrive. It will smell. After that, the water is drained and the exposure to air then proceeds to kill the anaerobes, thereby pasteurising the substrate. Of course, this method will only work for the obligate anaerobes or aerobes (meaning they can only survive in their respective environments). Facultative bacteria remain (those who can survive in either environment), but this does not seem to matter much. The fermented wood chip is then inoculated. We have had occassional success with this method.
Logs. These are a good long-term investment. Freshly cut, they are essentially pasteurised (assuming not already diseased). They can thus be inoculated directly with mycelium after a few weeks. This ensures the intrinsic immune mechanisms die before inoculation. Inoculation can be done with dowels, or grain spawn using an inoculation tool. The plugs are then sealed with wax and left in a damp/drak environment. The spawn run may take anything between 6 months to 2 years, but the logs may then produce mushrooms for years to come, subject to seasonal changes. The only caveat I have discovered, is that birds also love the grain on which my mycelium grows and the wax does not hinder them. Dowels do not have this issue. Certain logs support mushrooms better than others. I’ve found that ash is essentially useless, while oak supports shiitake and other species well. Hardwood species tend to be preferable. The research about matching mushrooms to wood species is unfortunately of very poor quality.
Incubating and fruiting
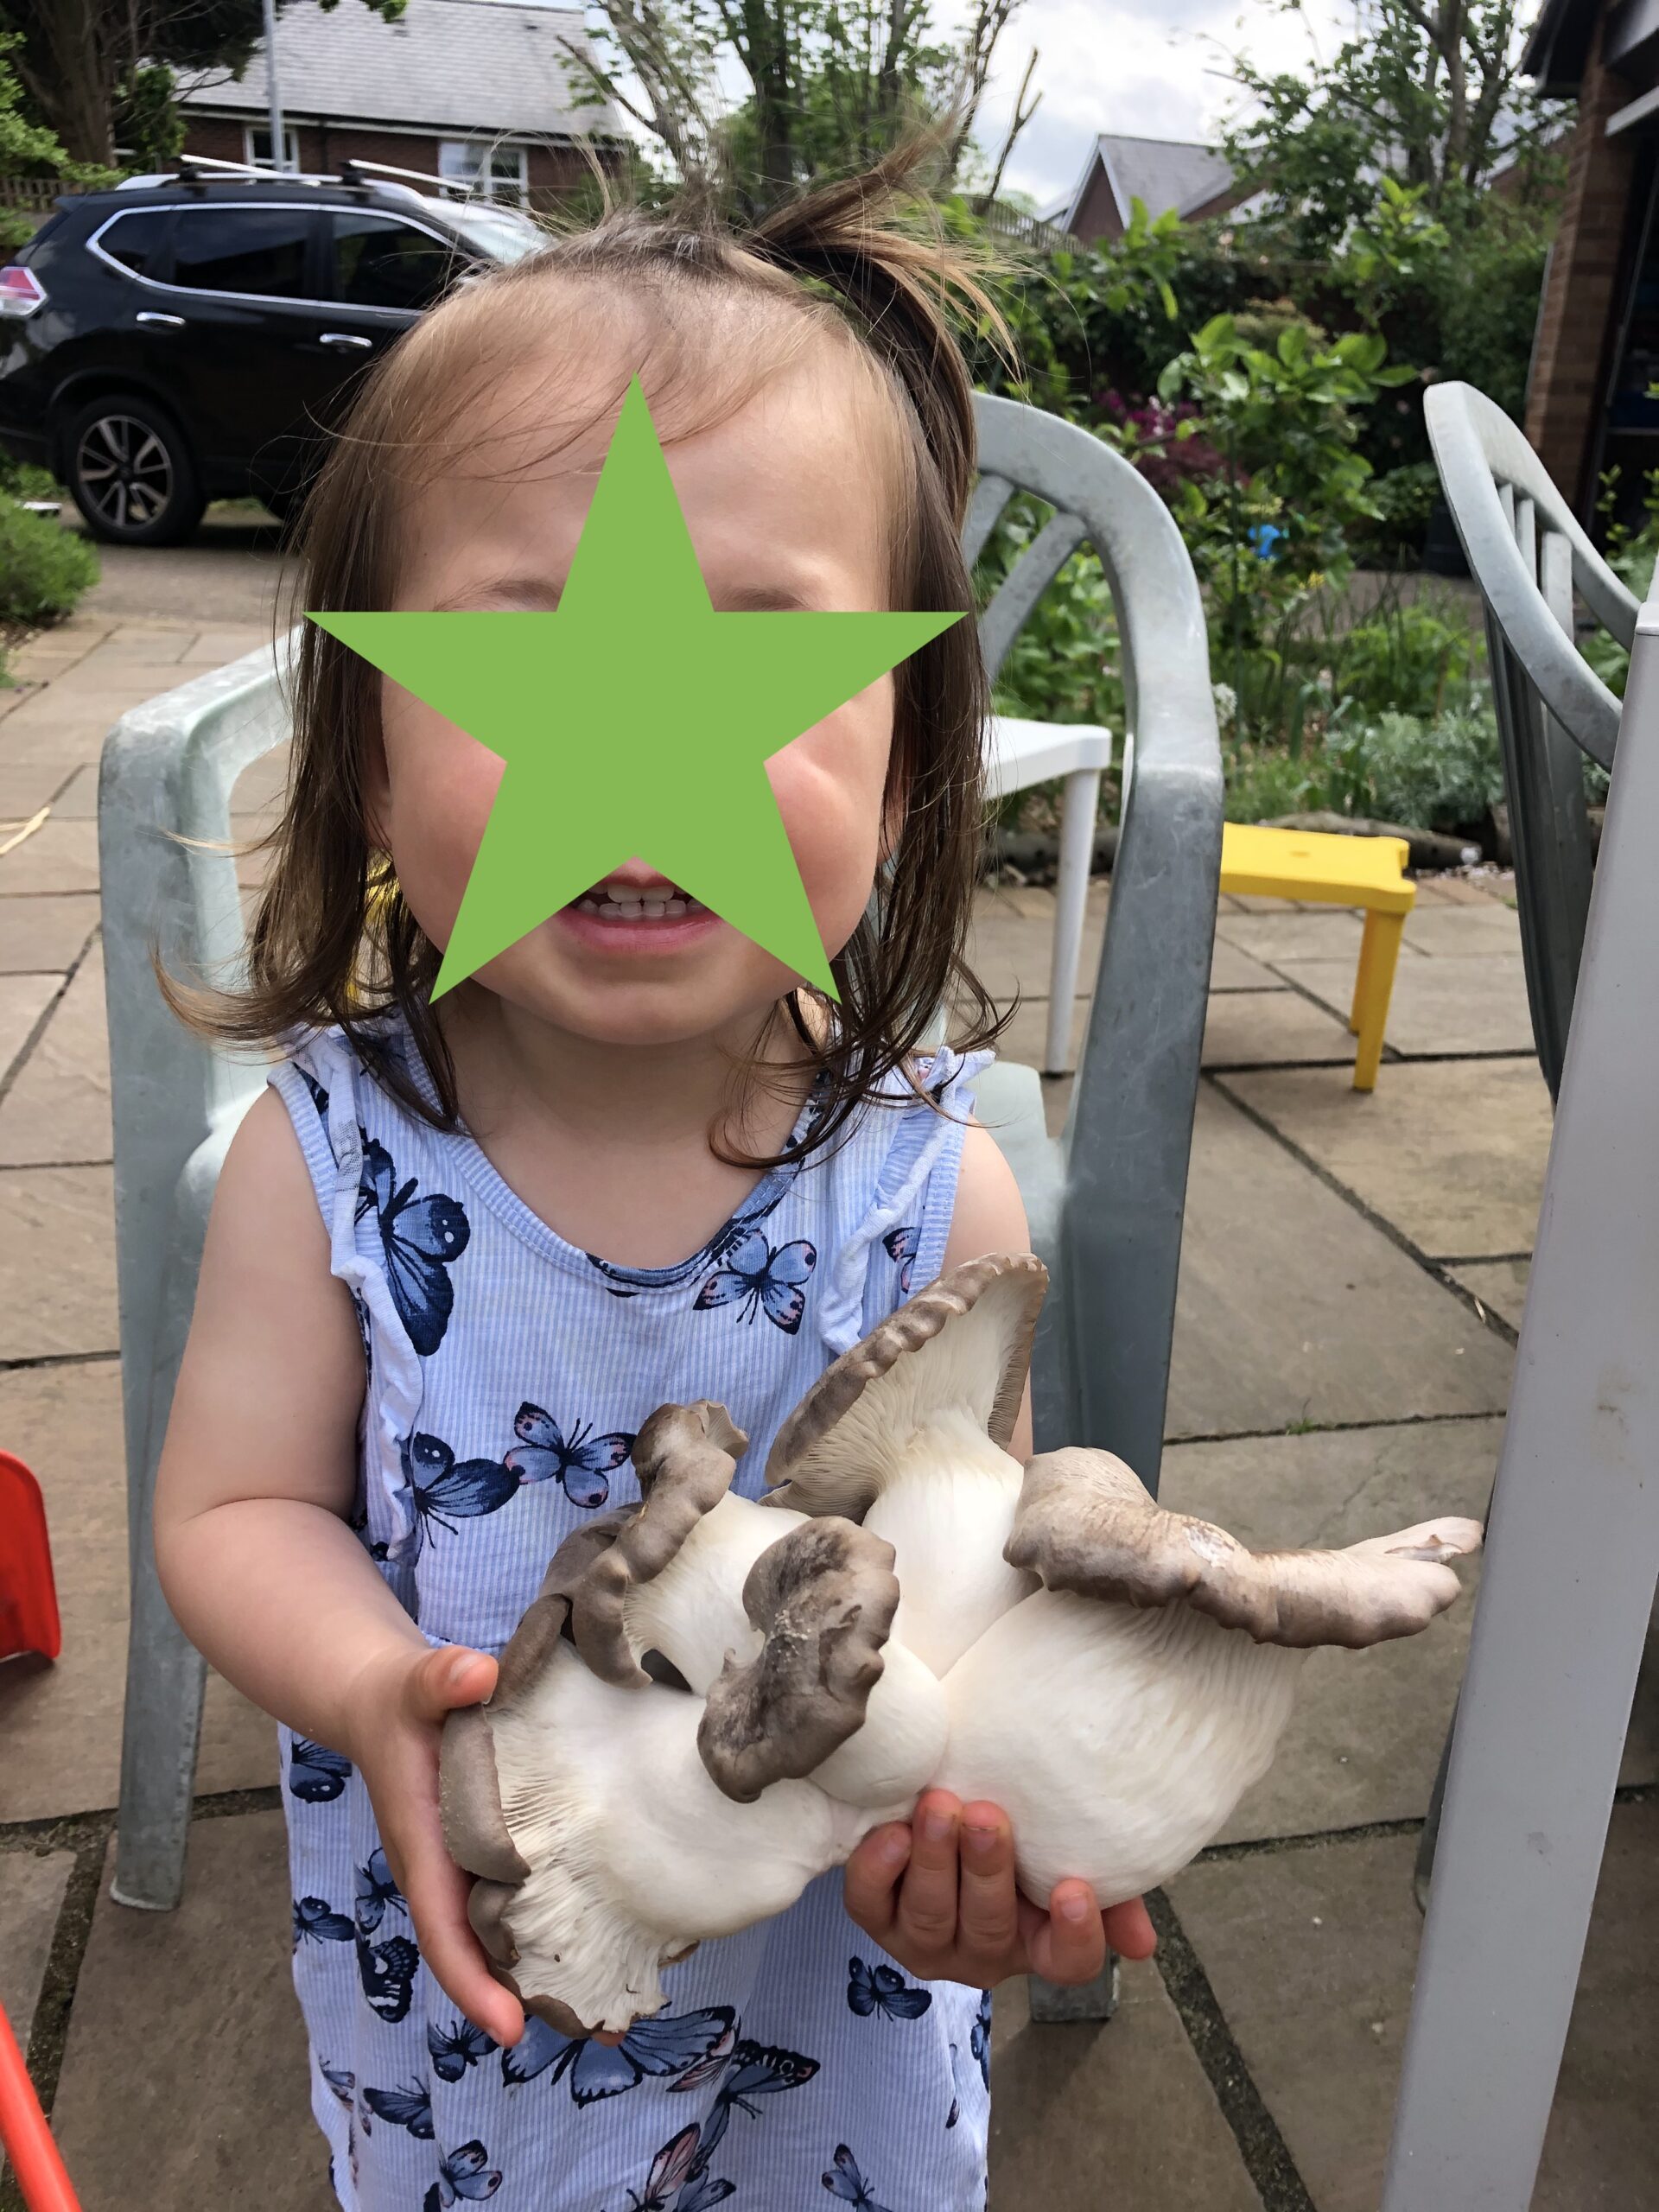
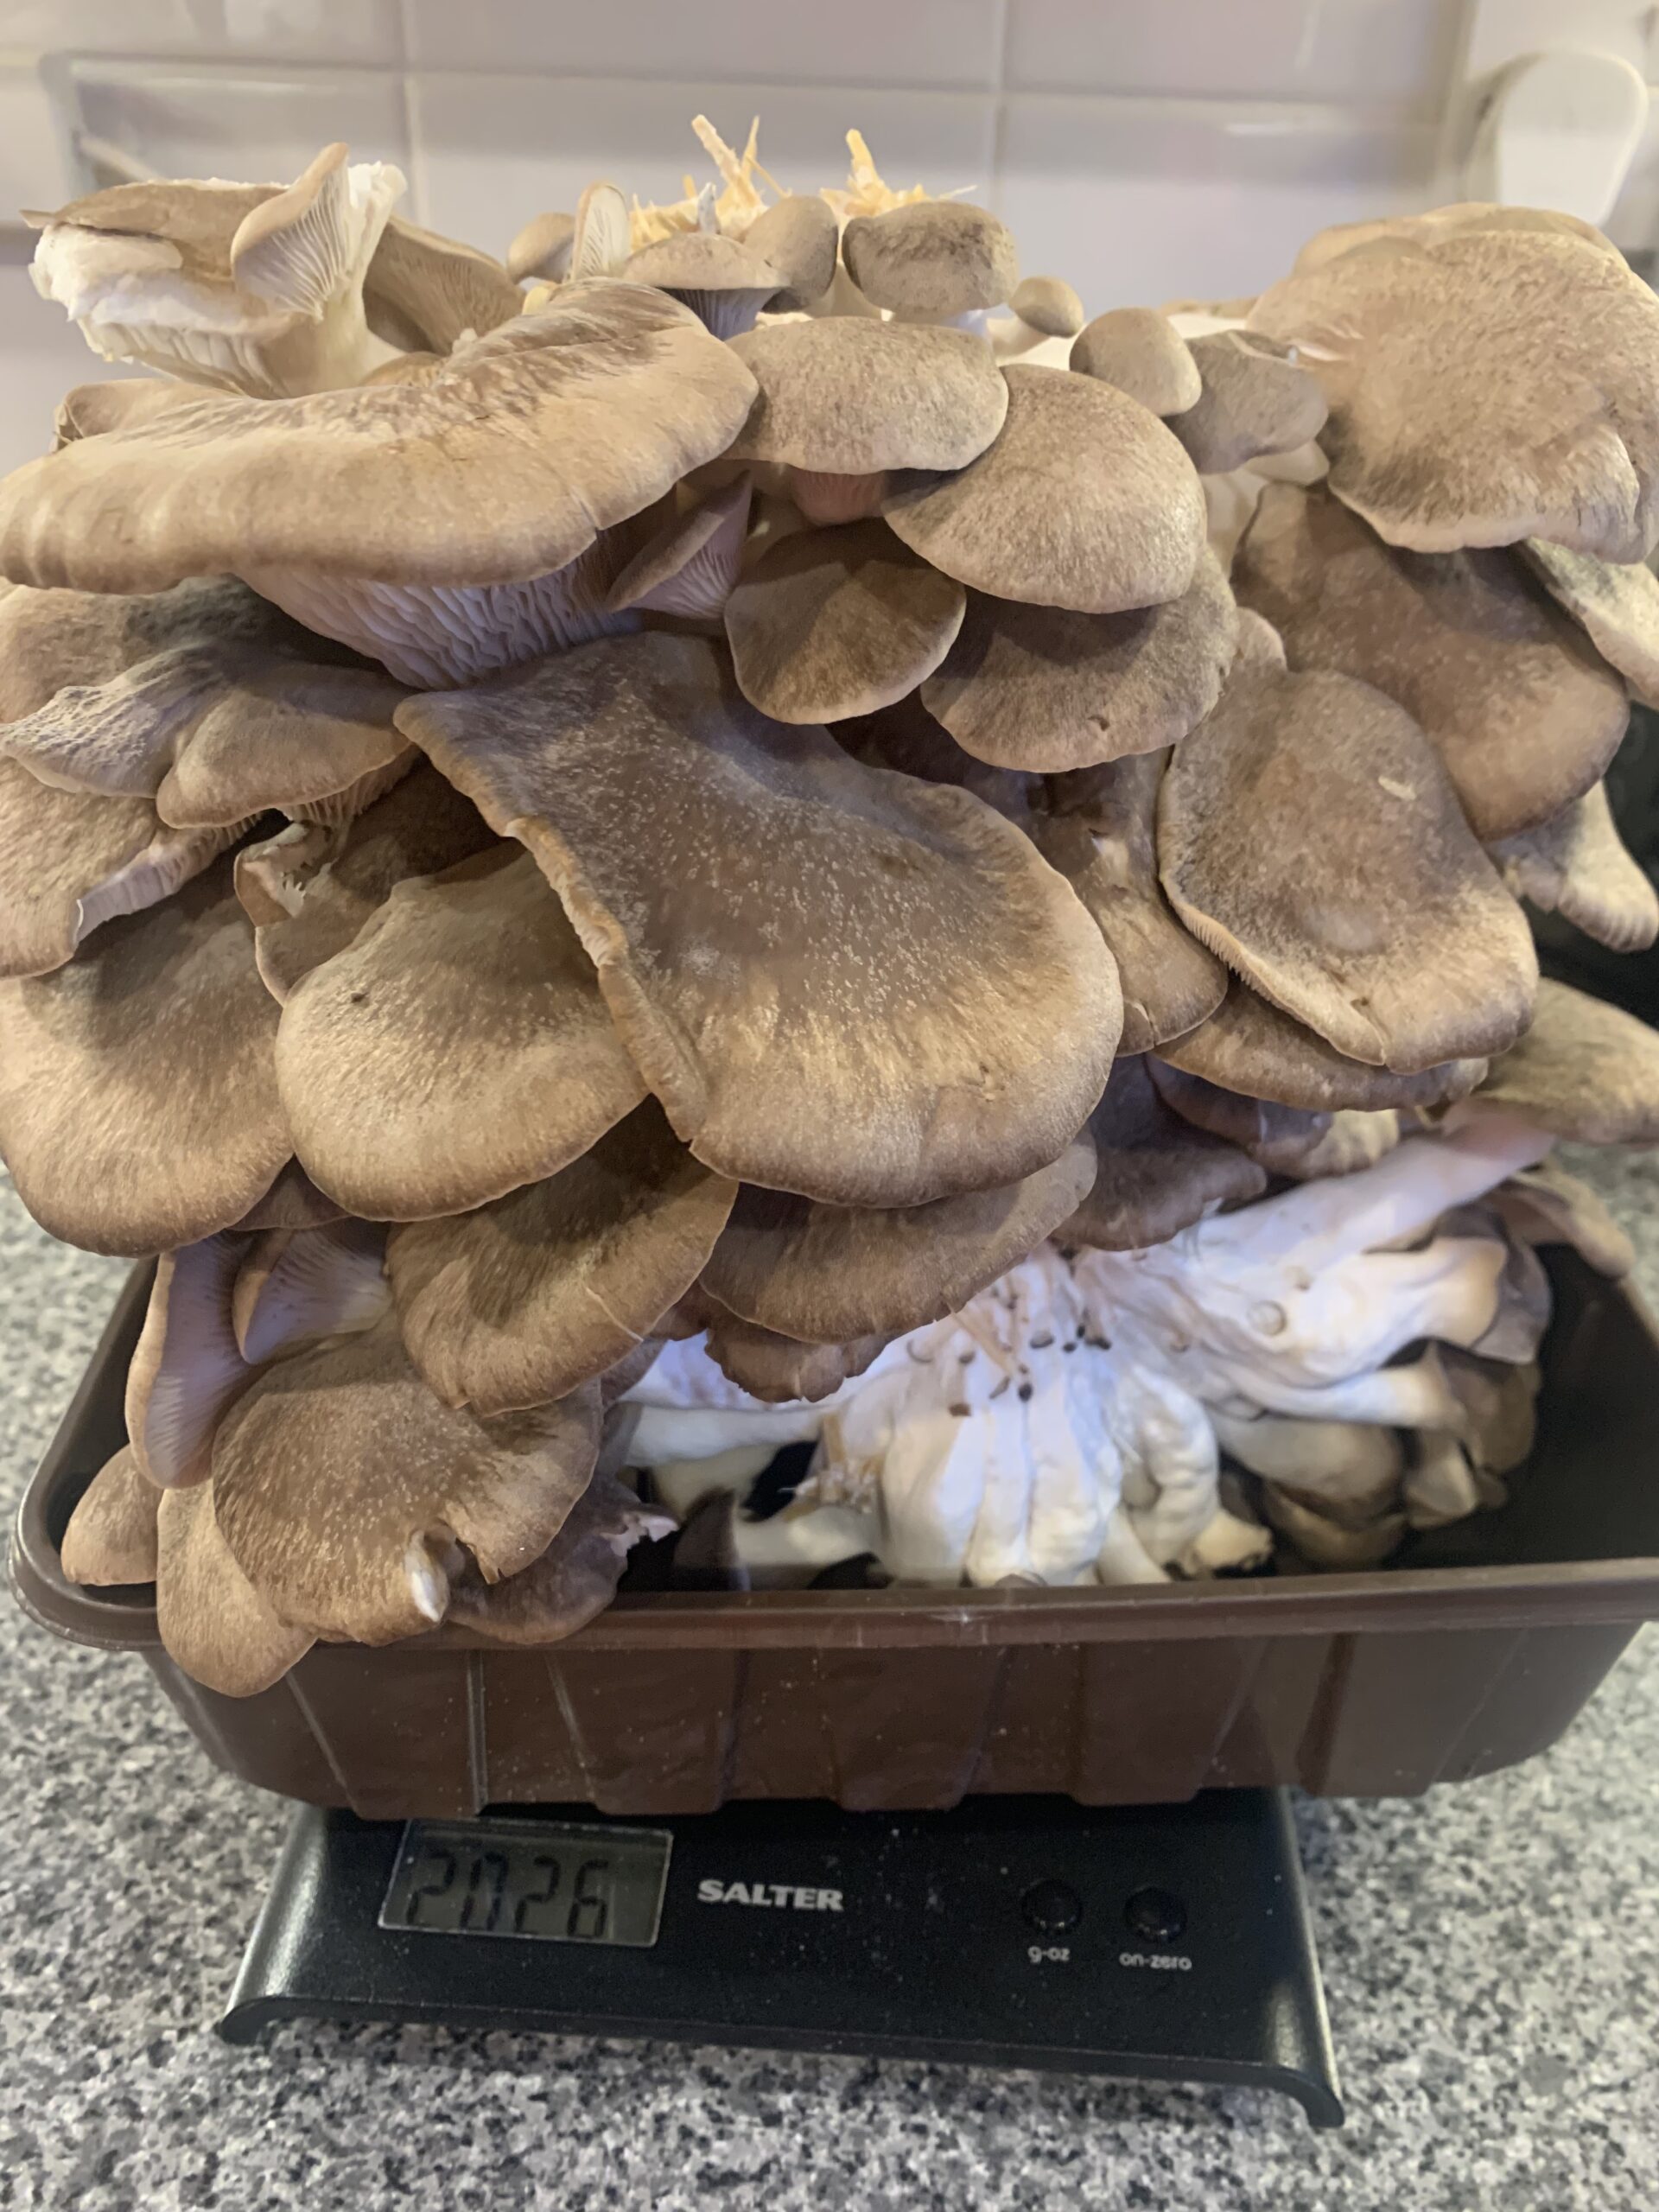
There is little to be said about incubation. I leave the buckets in a greenhouse, and the logs in a dark corner of the garden/house. The micropore tape limits evaporation but allows some air flow. Likewise, fruiting is straightforward for many species. Fresh air exchange is important, as well as humidity. I sometimes spray them with a mist. But then again, I live in Manchester, which is sufficient wet and humid to negate the need for misting most of the time. Harvesting is an art of balancing getting the largest size before they drop spores. After that, enjoy the fruits of your labour!
I hope this guide covers some key concepts in mushroom growing. There is plenty of room for improvisation and experimentation. Since the general cost of these is relatively low, take this guide as a concept map to further diversify techniques and methods. Have fun!
Some ideas about how to cook mushrooms in MOMMY
Check out some of my honeybee adventures. Or some of my medical writing.


